
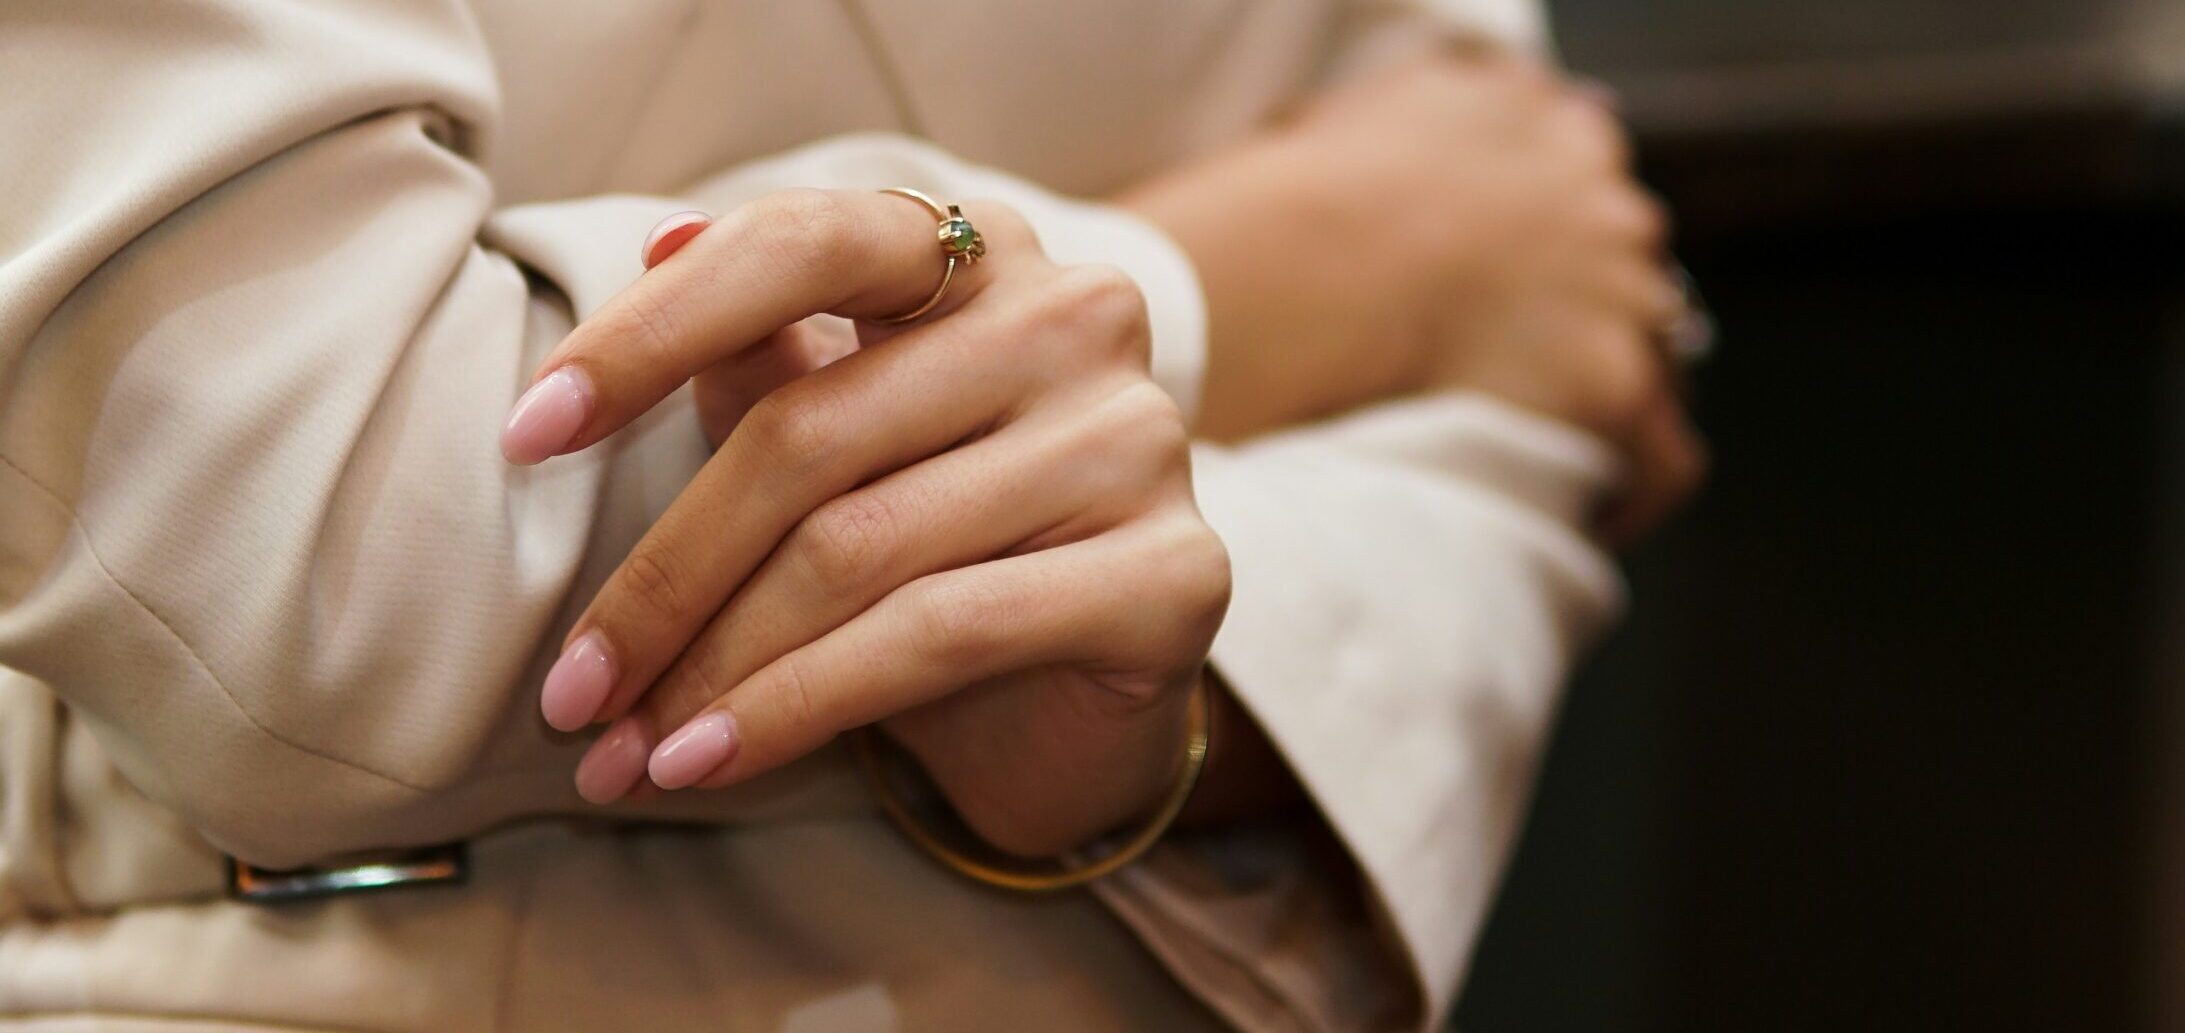
A low-maintenance nail routine comes down to five habits: one even length, edges filed in one direction, lotion and untouched cuticles, thin coats of polish (or none), and a midweek top coat. Do the full session on a weekend and the upkeep in a few minutes. Your nails stay tidy between appointments without a full redo.
Step 1: Pick a length and trim after a shower
Hold one hand palm-up at eye level and look at how far each nail extends past your fingertip. Use your shortest nail as the guide for the rest. Matching nine nails to one is quicker than waiting for a broken nail to grow back. If you type all day or often pull on tights, pick a length that only just clears the fingertip.
The easiest time to clip is after a bath or shower, when nails are softer, according to the American Academy of Dermatology’s trimming guidance. If a shower doesn’t fit your day, soak your fingertips in lukewarm water for a few minutes instead. Cut almost straight across. The usual mistake is clipping deep curves into the corners. Leave the rounding to the file, where you can take off a little at a time.
Step 2: File away the rough edges
Hold an emery board at a slight angle under the nail edge. Sweep it from one side toward the center, lift it off, and repeat. Then work in from the other side. Round the corners just enough that they don’t catch on knits or pockets.
Avoid sawing the file back and forth, which the AAD says can weaken nails. For shape, a round edge has no corners to snag. If you like a straighter line, choose a squoval: a square tip with softened corners.
Step 3: Keep the lotion handy (and leave your cuticles alone)
After washing your hands, rub a little hand lotion over each nail and the skin around it. If your mornings are tight, keep a tube beside the sink so you can do it without planning. Leave your cuticles alone, too. The AAD advises against cutting them or pushing them back. Once a month, clean your clippers with isopropyl alcohol, as the same guide recommends, and let them dry before you put them away.
You can stop here. Clean, evenly shaped, moisturized bare nails are a finished look.
Step 4: If you’re polishing, keep the coats thin
There’s no need to turn a quick manicure into an afternoon project.
Before you start, read the directions on your polish bottle, particularly the drying time. The FDA’s nail product guidance recommends following product instructions and working somewhere with good ventilation.
For a simple at-home manicure:
- Wipe your nails clean and dry.
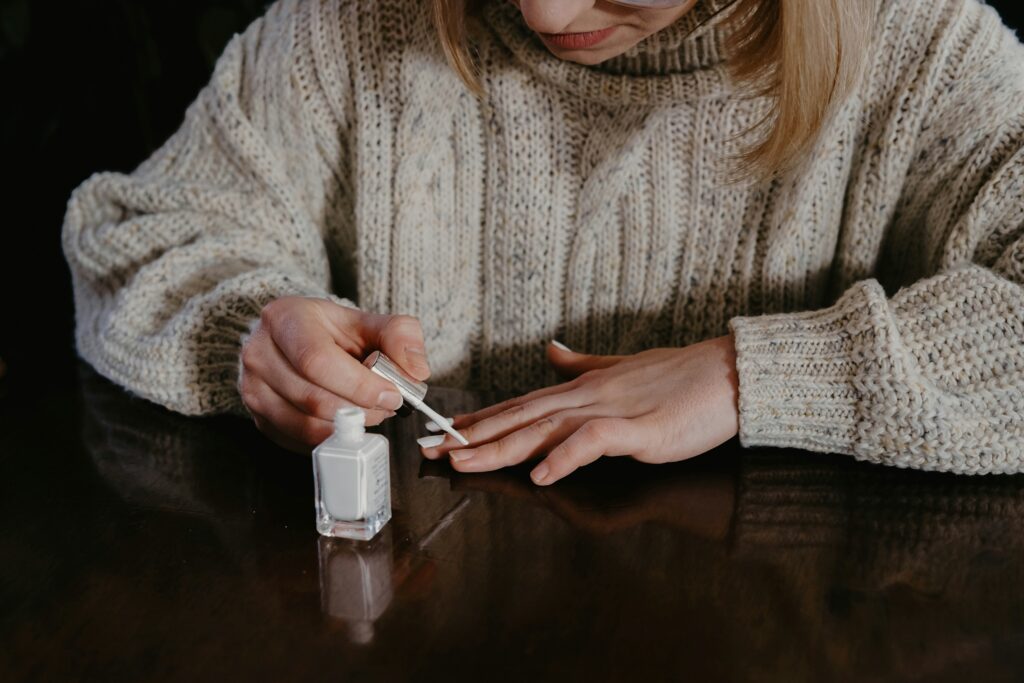
- Apply a base coat, then 2 thin coats of color, waiting between coats as the label directs.
- Finish with a top coat, then swipe the brush lightly along each tip so the edge is covered too.
If you’d rather touch up less often, try a sheer pink, a milky beige or a clear coat. Small wear at the tips shows less on these than on deep red or navy. Before you buy, hold the bottle beside your bare nails near a window to see which sheer tone sits best with your skin. Heavy coats are the common mistake. Keep each layer thin and give it the full drying time on the label before adding the next.
Step 5: A little attention halfway through the week
Add a thin layer of top coat every 2 to 3 days, as L’Oréal Paris suggests. If mornings are busy, do it in the evening. For a small chip, smooth the rough spot with your file and dab color onto the bare patch only. Let it dry, then top-coat the whole nail.
When 3 or more nails are chipped, or a bare gap has grown in at the base, take everything off. Follow the directions on your remover’s label and lotion your hands. Then start again from Step 1 if your nails have grown out, or from Step 2 if they haven’t.
To check your work, run your fingertips lightly over a knit sweater. Nothing should catch. Then hold your hand palm-up again. If the edges are smooth and everything looks reasonably even, you’re done.
No elaborate routine required.