
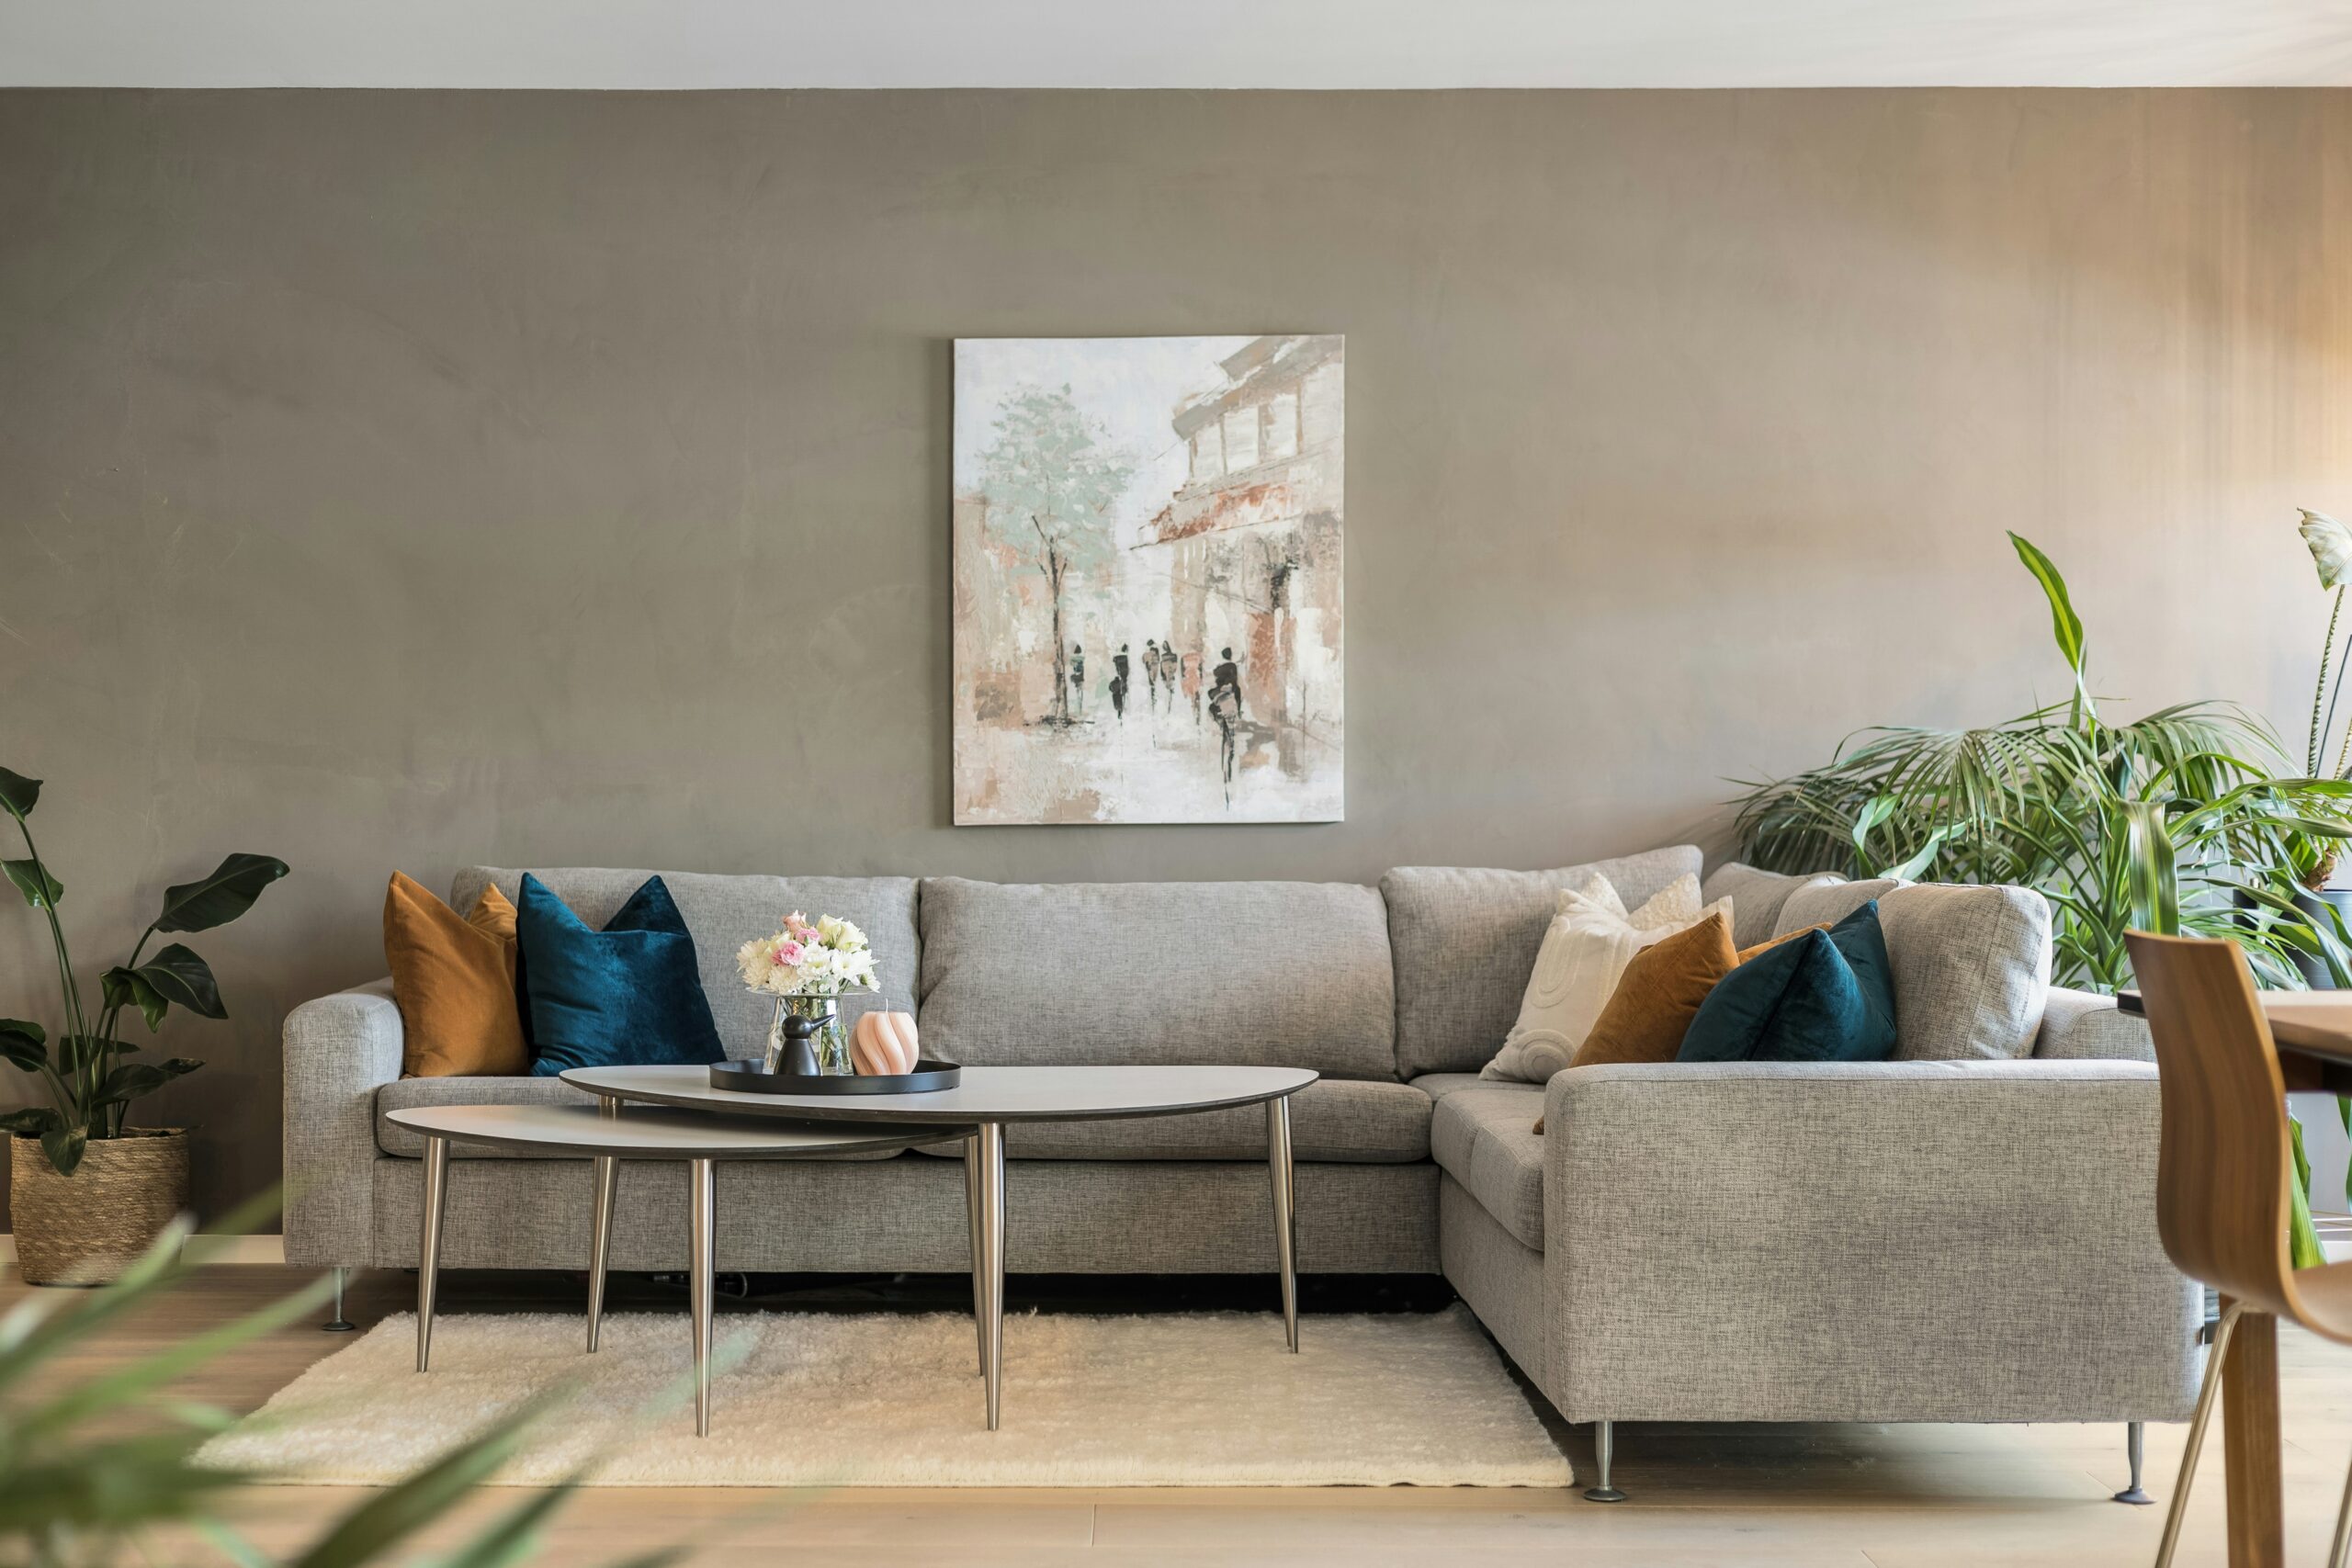
The painting looked enormous in the store. Now it’s hanging above your sofa, looking rather lonely on that big stretch of wall. Or maybe you have the opposite problem: a beautiful oversized print that seems to be swallowing the furniture beneath it.
Both are surprisingly easy mistakes to make. Hanging art is one of those decorating jobs that looks simple until you’re standing on the sofa with a pencil between your teeth, wondering where the nail should go.
A tape measure, some scrap paper and a little patience will save you quite a few holes in the wall.
Step 1: Forget the wall. Look at the sofa.
First, measure the sofa from one arm to the other. That’s your starting point, not the width of the wall behind it.
As a general rule, artwork looks nicely proportioned when it’s around two-thirds the width of the furniture underneath. Hunker’s hanging guide uses this guideline, too. So, for an 84-inch sofa, you’re looking at approximately 56 inches of art.
That doesn’t mean you need one enormous painting. A pair of prints or a collection of smaller frames can fill the same space. Just measure the whole arrangement, gaps included.
And please, center everything over the sofa. Not the wall. An off-center sofa with a perfectly centered painting can make the whole room look slightly peculiar.
Step 2: A little trick involving wrapping paper
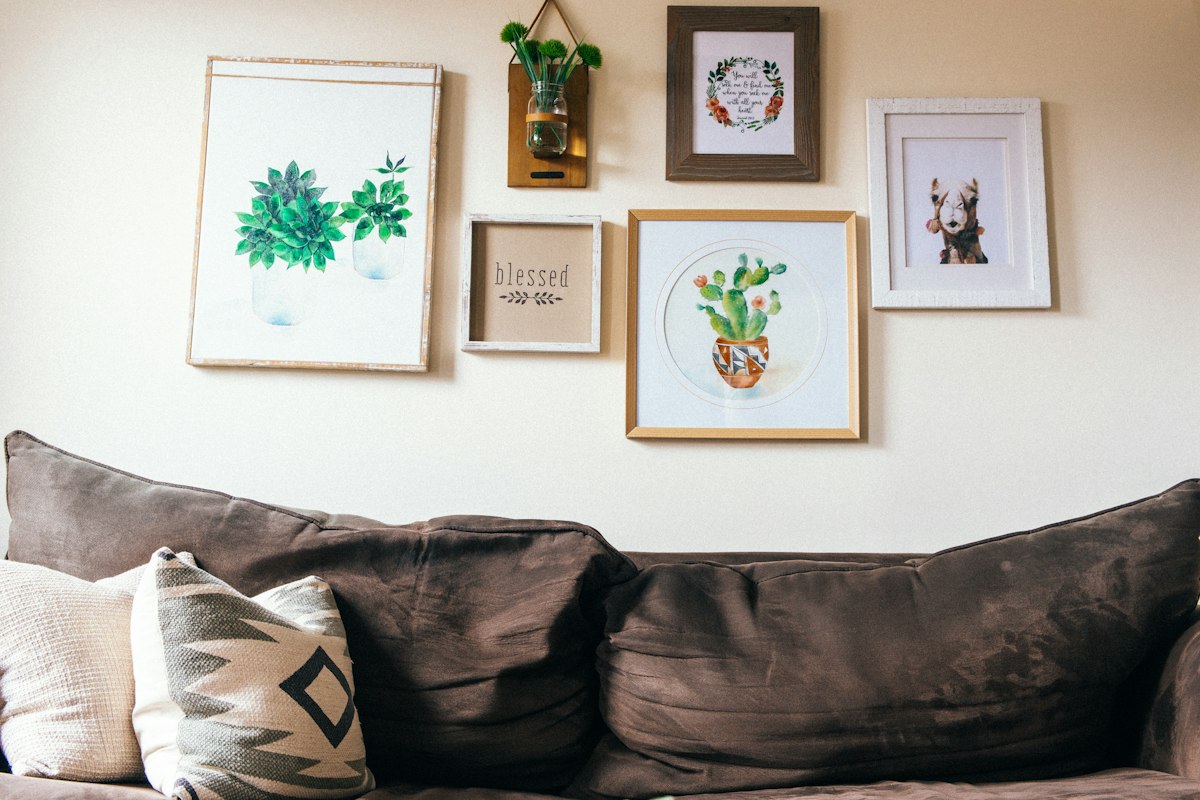
Before the hammer makes an appearance, find some old wrapping paper. Newspaper works, too. Cut out the dimensions of your frame and tape the paper to the wall. Start about eight inches above the sofa back, then stand across the room and have a look.
Too high? Bring it down. A little cramped? Move it up.
Now sit on the sofa. Lean back as you normally would, particularly if the sofa has a low back. Nobody wants a picture frame interfering with their favorite spot. Leave the paper there overnight if you’re undecided. Morning light can make the proportions look quite different, and there’s no harm in changing your mind before drilling.
Step 3: The measurement everyone forgets
Here’s the irritating bit. The nail doesn’t usually sit level with the top of the picture.
Turn the frame over and find its hanger. Measure the distance from the top of the frame to the D-ring or sawtooth hook. If it hangs from wire, pull the wire taut first, as it would be when hanging. Today’s Homeowner explains the method.
Transfer that measurement to your paper template. That’s where the nail or hook belongs. For a wide frame with two hanging points, measure both carefully and check that your marks are level. This is not the moment to eyeball it.
Step 4: About those holes in the wall
A heavy picture needs more than an ordinary nail. If you don’t know its weight, a bathroom scale can help: weigh yourself holding the frame, then subtract your own weight.
Check the hardware’s weight rating and the type of wall you’re dealing with. Drywall anchors, studs and plaster all require different considerations. Plaster especially deserves some care; Angi has a useful guide to choosing appropriate fixings.
Once you’ve sorted the hardware, pull the sofa forward, check your marks with a level and install the hangers according to their instructions. Off comes the paper. Up goes the picture.
Renting? Check the lease before making holes. Weight-rated adhesive strips may work for lighter frames, while a picture ledge gives you room to rearrange a collection later.
Finally, push the sofa back and look at the wall from the living room entryway. Then sit down and take a gander. That’s the view that really matters.